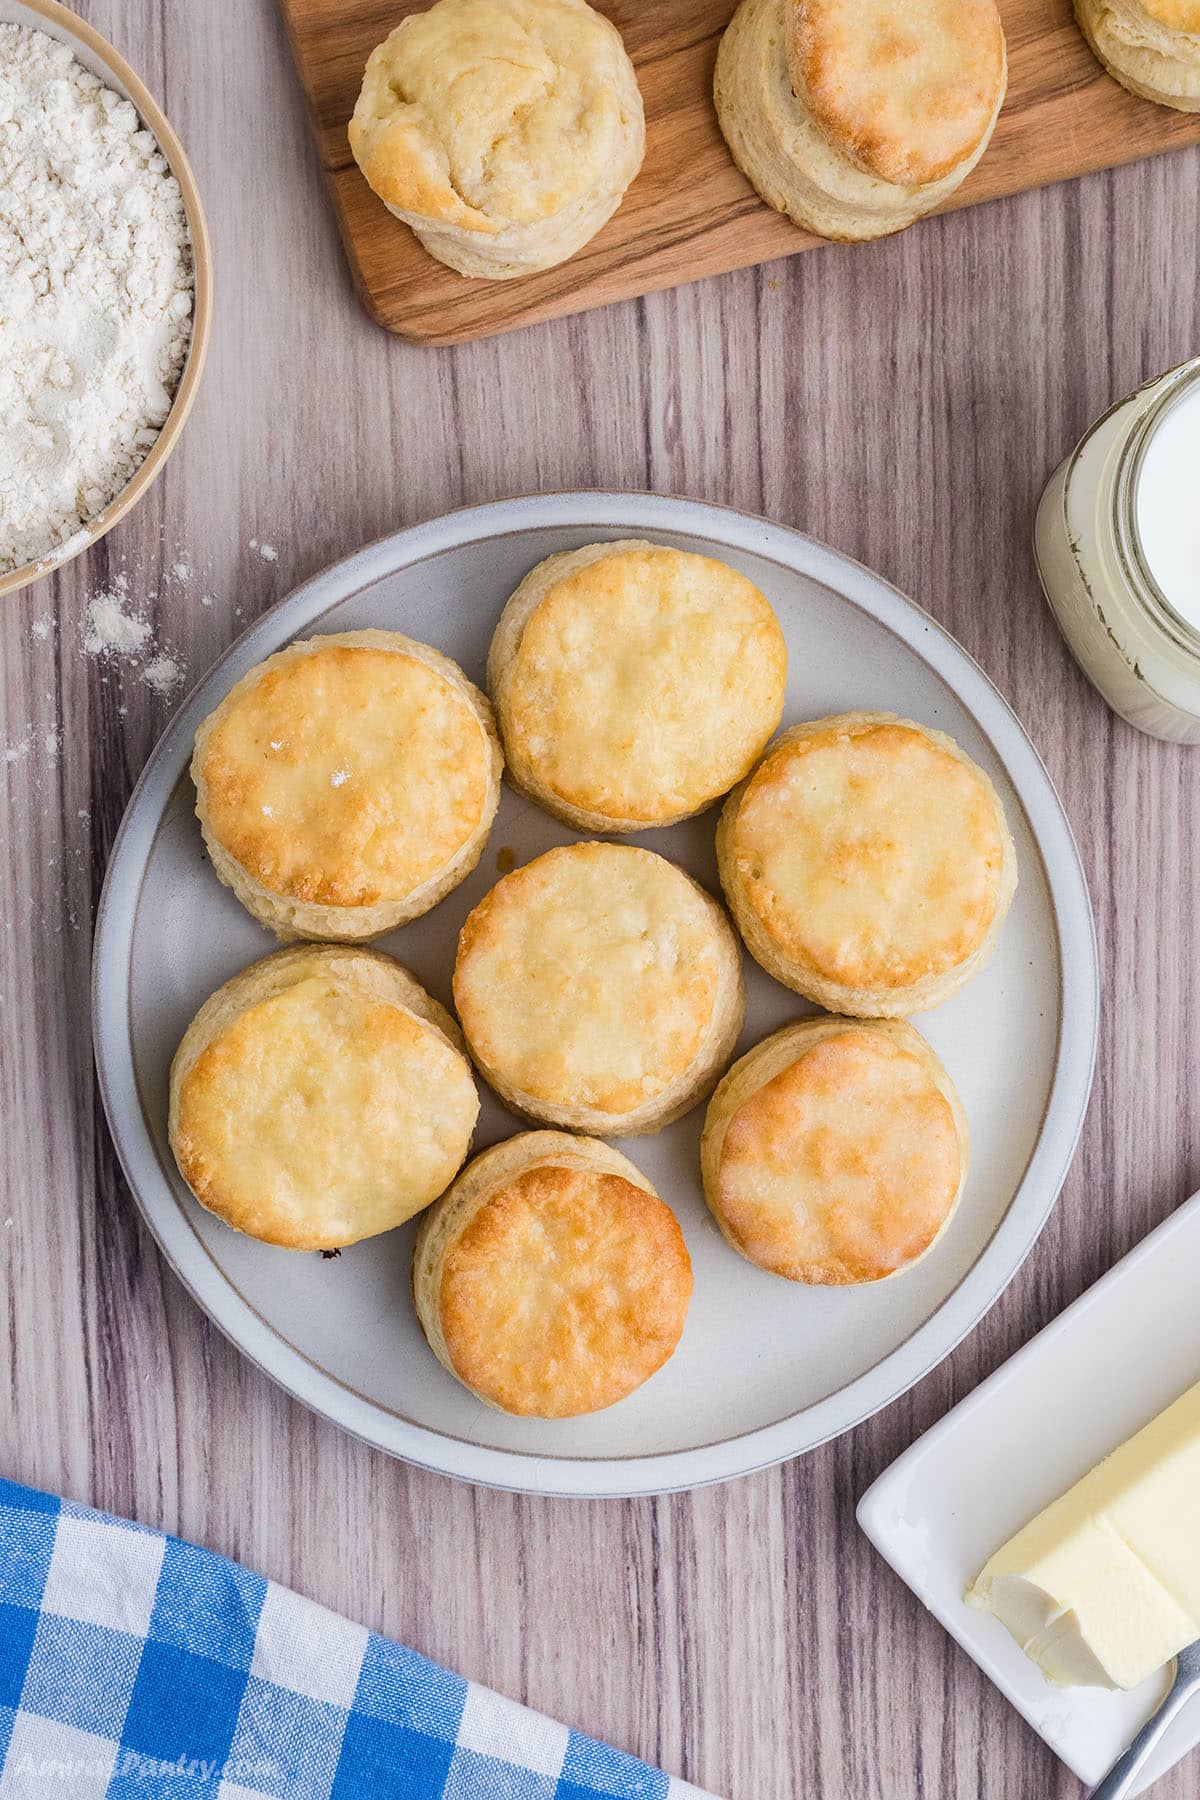
This copycat Cracker Barrel Biscuit recipe is perfect for those who want to recreate the delicious taste of Cracker Barrel's famous biscuits at home. With just a few simple ingredients and a little bit of time, you can bake up a batch of these fluffy and buttery biscuits without leaving the house.
Jump to:
Save this recipe by clicking on the ❤️ heart on the right-hand side of the screen or in the recipe card.
Homemade Biscuits
- They’re incredibly easy to make with pantry staples you probably already have on hand.
- These biscuits are soft, flaky, and perfectly golden brown, just like the ones served at Cracker Barrel.
- They pair wonderfully with so many dishes—think fried chicken, hearty stews, or even a dollop of jam for breakfast.
The next time you are craving Cracker Barrel Buttermilk Biscuits, skip a trip to your local restaurant and make this copycat recipe at home instead. Your family will love these buttery and flaky biscuits.
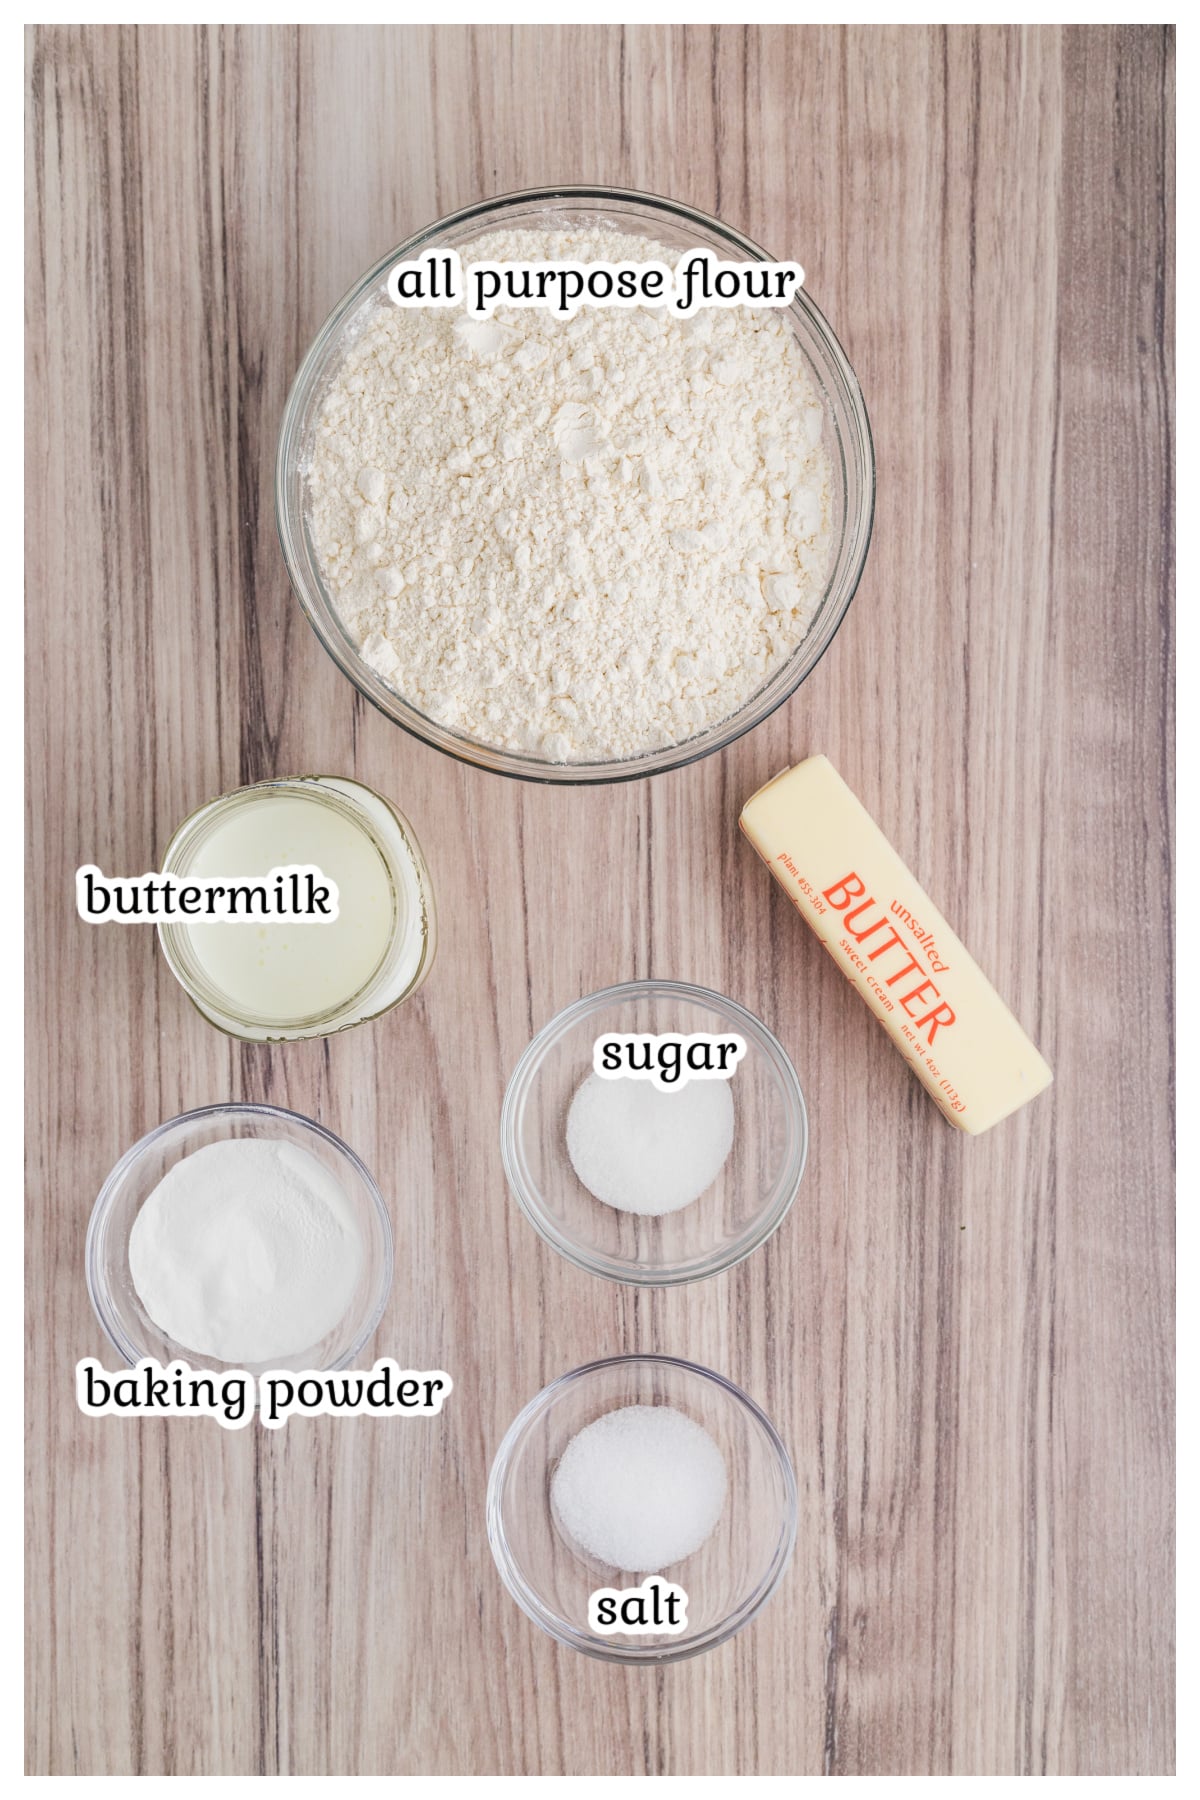
Ingredients you'll need
Note: This is an overview of the ingredients. You'll find the full measurements and instructions in the recipe card (printable) at the bottom of the page.
Ingredient notes
- All-purpose flour - Make sure to use all-purpose flour for this recipe, as it will give the biscuits a light and fluffy texture.
- Baking powder - This is what gives the biscuits their rise and flakiness. Make sure your baking powder is fresh for best results.
- Sugar - A small amount of sugar adds a touch of sweetness to the biscuits, but feel free to adjust the amount to your liking.
- Salt - Just a pinch of salt enhances the flavors in the biscuits.
- Butter - Be sure to use unsalted butter to control the amount of salt in your biscuits.
- Buttermilk - The star ingredient that gives these biscuits their tangy and creamy flavor.
- Melted butter - This is optional, but it really gives these biscuits a great flavor when brushed on the tops.
Adaptable recipe – make it your own!
- Add your favorite shredded cheese, like cheddar or Parmesan, for a savory twist.
- Mix in chopped fresh herbs like rosemary, thyme, or parsley to give the biscuits a fragrant, herby flavor.
- For a bit of a kick, try adding a pinch of garlic powder, paprika, or even a dash of cayenne pepper.
- For a touch of sweetness you can also add some honey or honey butter to the top of your biscuits.
Before you begin: essential tools
The following are affiliate links. We are a participant in the Amazon Services LLC Associates Program, an affiliate advertising program designed to provide a means for us to earn fees by linking to Amazon.com and affiliated sites.
- Baking sheet
- Parchment paper
- Large bowl
- Hand grater
- Pastry cutter
- Rolling pin
- Biscuit cutter - or round cookie cutter
- Bench scraper or spatula
Don't forget to check out my Amazon storefront for some of my favorite products!
Step by step: instructions
Note: This is an overview of the instructions. The detailed instructions are in the recipe card below.
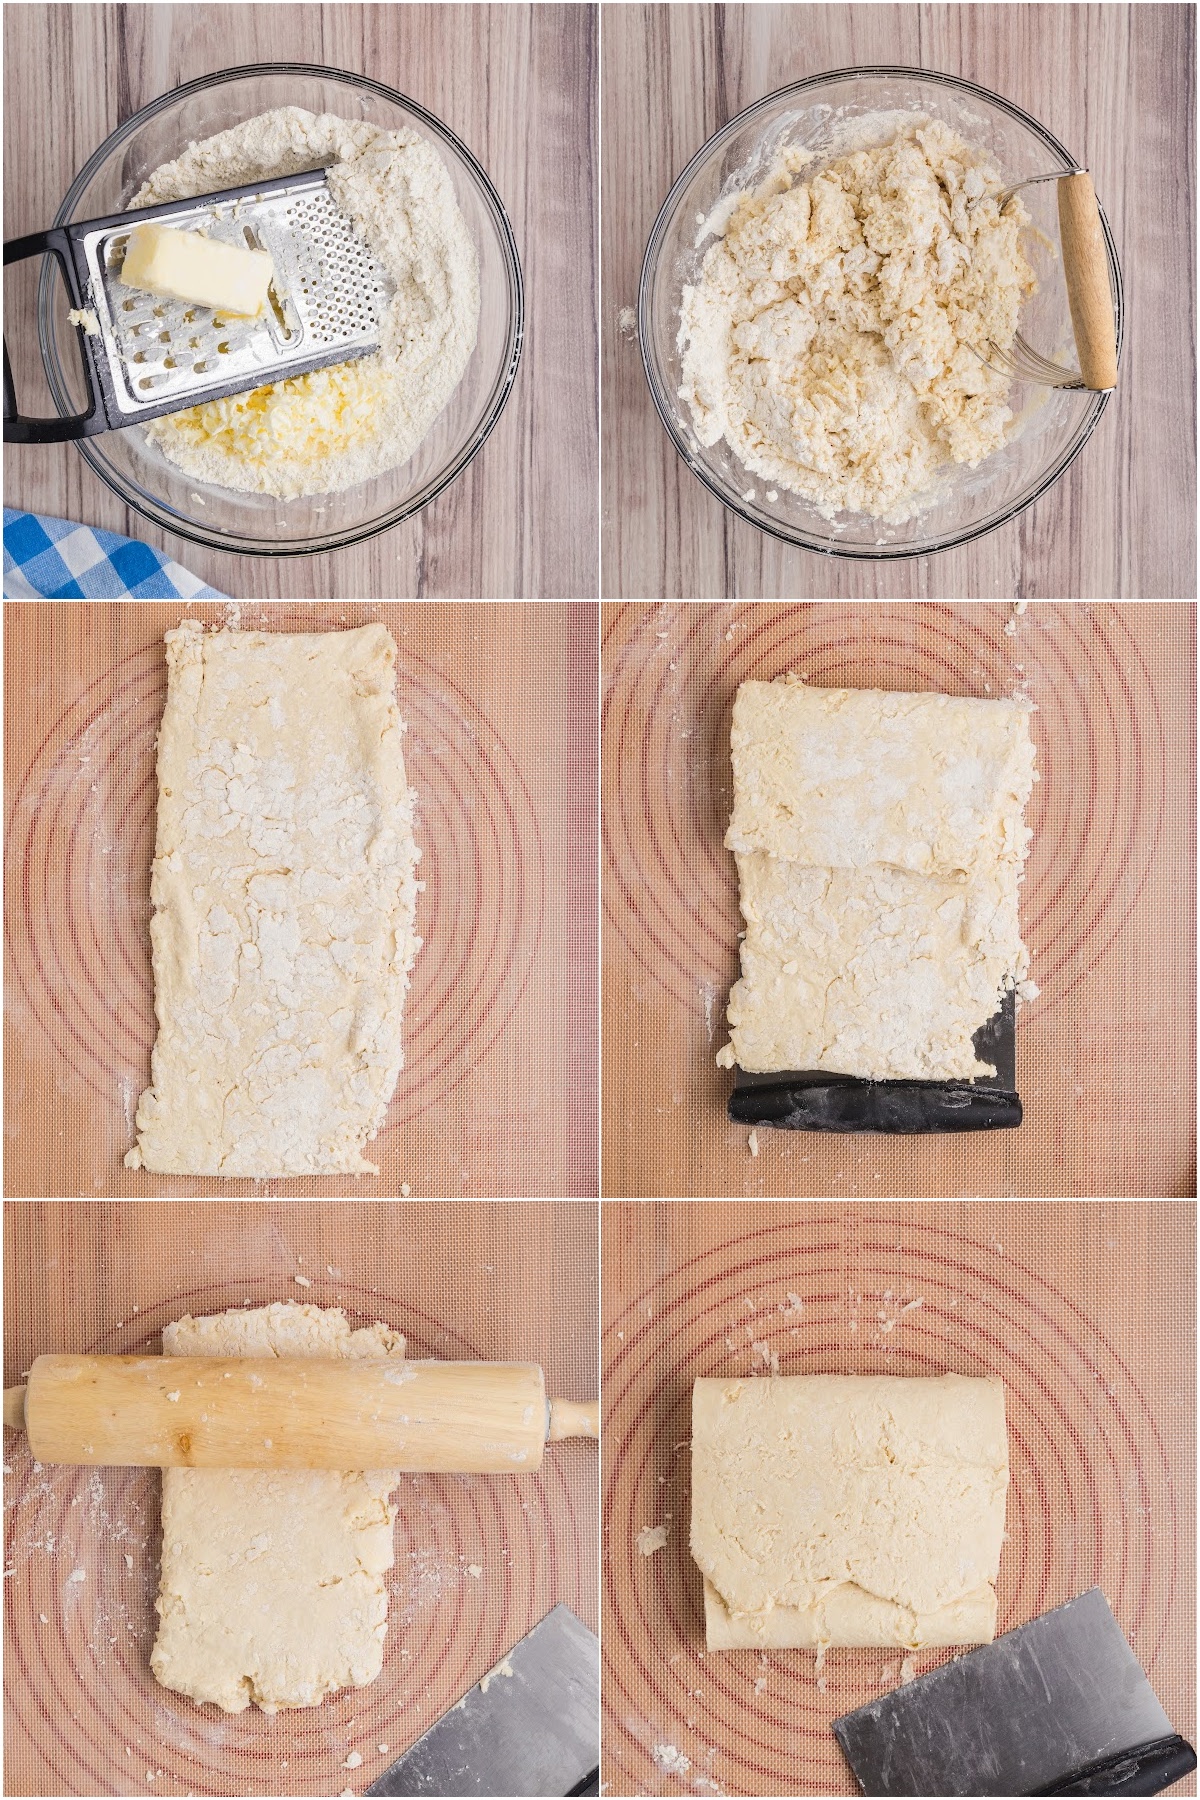
- In a large bowl, add flour, baking powder, sugar and salt. Mix using a whisk. Then, use a box grater to grate the butter into the dry ingredients.
- Mix in the butter with your flour. Add buttermilk and mix until just combined.
- Using a light touch, use the palm of your hand to push the dough together, it will look and feel crumbly but it will come together quickly. Push into the shape of a rectangle.
- Using a bench scraper or spatula, fold it in thirds. Right side and then fold the left side.
- Turn the dough horizontally. Using a rolling pin, roll it into a rectangle, fold in the sides, and turn it again. Repeat 2-3 times.
- After the 2nd or 3rd time, push the dough down again shaping into a circle or larger rectangle, about ¾ “ to 1” thick.
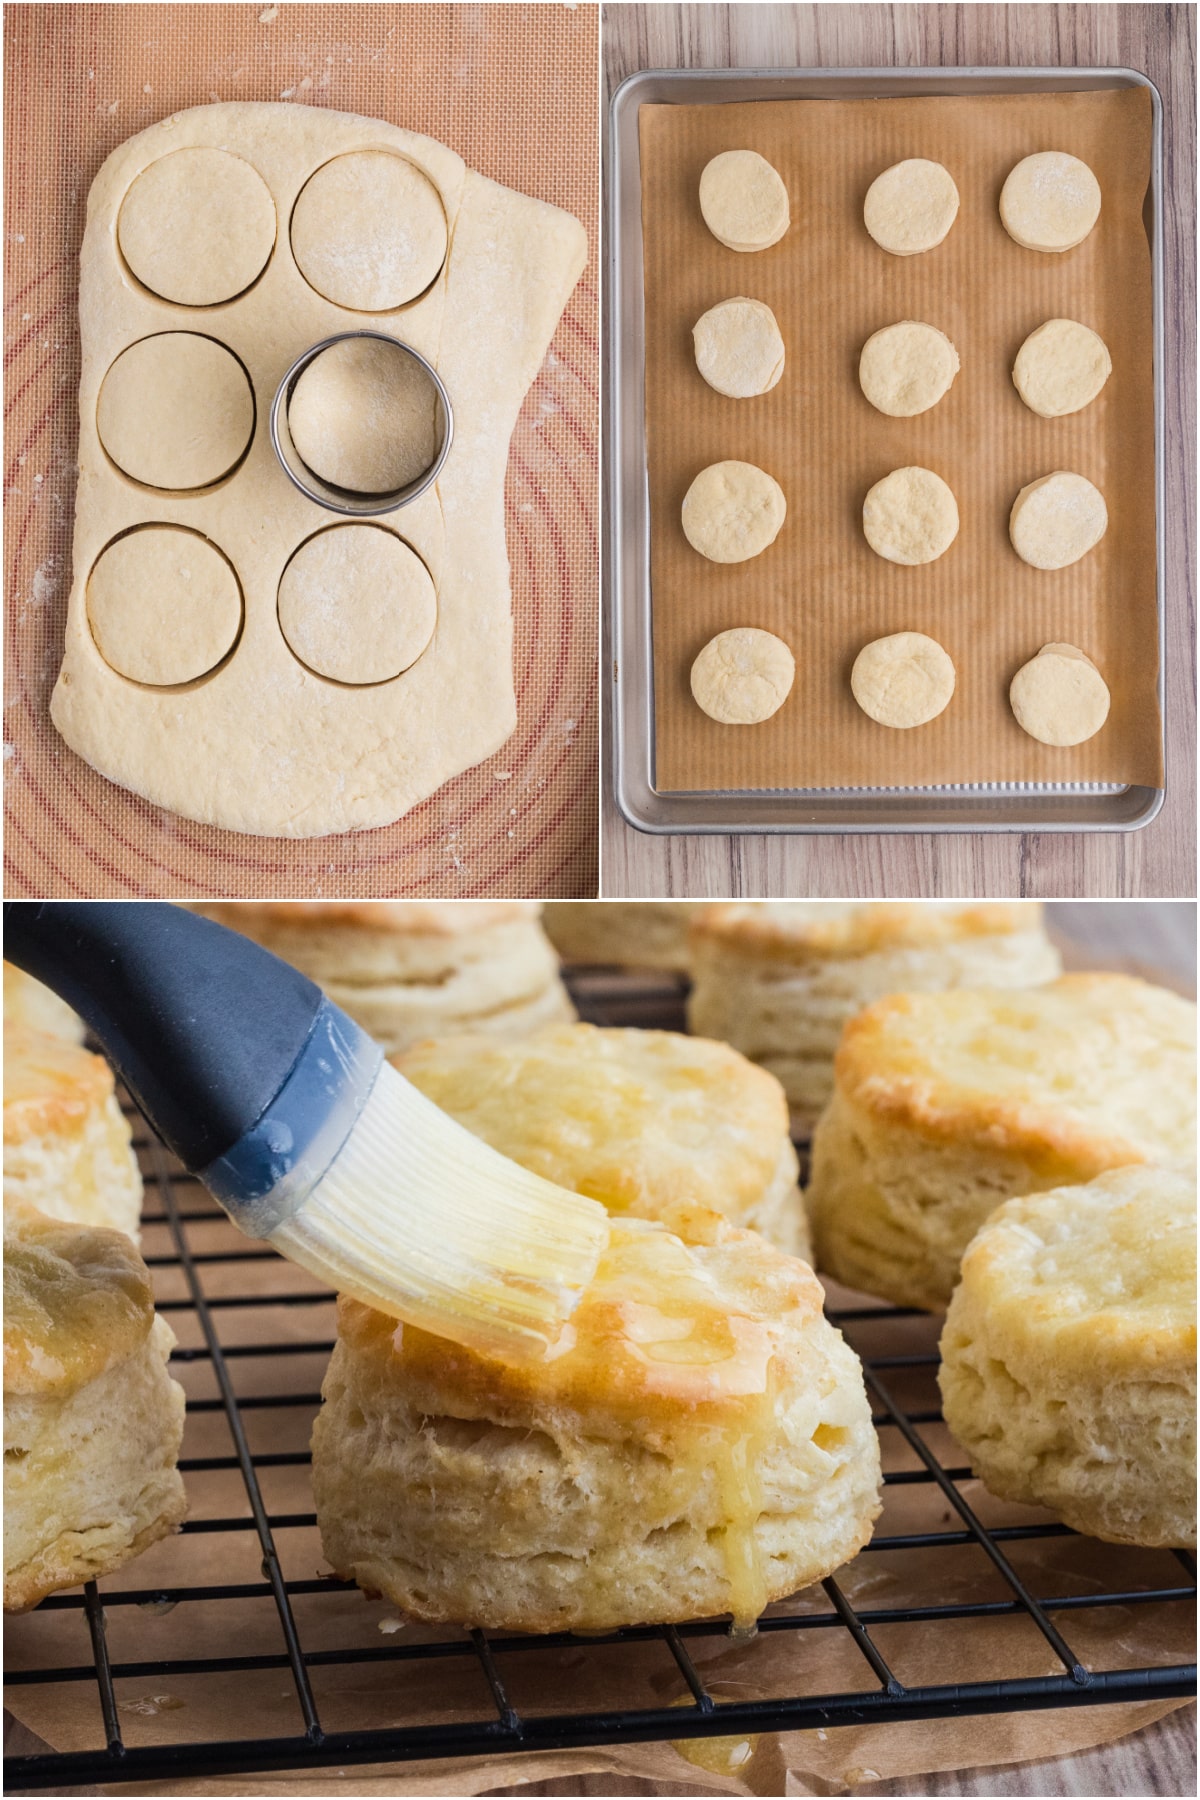
- Using a 2.5” biscuit cutter, push down straight into the dough. Do not push and turn the cutter, as this may seal the dough and prevent the biscuits from rising properly.
- Place each dough circle onto the prepared baking sheet.
- Bake in the oven for 15 to 20 minutes or until they are puffed up and have a golden top. Take them out of the oven, and using a pastry brush, brush the tops with melted butter before serving.
Your questions answered: FAQs
Yes, you can freeze baked biscuits, just place them in a freezer bag once they are completely cooled and store them in the freezer for up to three months. Thaw on the counter for an hour or two before reheating them.
I highly recommend that you use real butter for these biscuits. Real butter will give you the best flavor.
No biscuit cutter? No problem! You can use a sturdy glass with a sharp edge or even the rim of a can to cut out the dough. Just make sure to lightly flour the tool you’re using to prevent sticking.
My notes
- If you want to make buttermilk using milk and white vinegar, just mix them together and let the mixture sit for about 10 minutes before using. This waiting period is super important for those fluffy biscuits you’re after! Make sure to keep it cold for the best results.
- For the butter, pop the whole stick into the freezer before you grate it. This will make the process a lot easier! You can also dust the butter lightly with flour beforehand. Just use a tiny amount of flour to avoid adding too much to your dough.
- If your biscuit dough starts to feel soft or warm while you’re working, slide the entire baking sheet of uncooked biscuits into the refrigerator to chill. Firming up the butter at this stage helps create those perfectly flaky layers.
- Having trouble with the biscuit cutter sticking? Try dipping the cutter in flour before pressing it into the dough. It works like a charm!
- No hand grater? No problem! You can cut the butter into small cubes and work it in using clean hands or a pastry cutter.
- When placing your biscuits on the baking sheet, keep them close together. It’s totally fine if they’re touching because biscuits should rise up, not spread out.
- To get those dreamy, flaky layers, gently fold the dough a few times before cutting it. Pat the dough out with a rolling pin, fold it over, and repeat this about three times. Trust me, this step makes a big difference!
- Lastly, try to handle the dough as little as possible. Overworking it can lead to tougher biscuits, so use tools like a bench scraper and rolling pin to keep things light and easy.
Storage and reheating
Refrigerate - Leftover biscuits can be stored in an airtight container for 2-3 days in the refrigerator.
Freeze - Unbaked biscuit dough can be frozen on a baking sheet until firm, then transferred to a freezer-safe bag for up to 3 months. To bake from frozen, add a few extra minutes to the baking time.
Reheat - To reheat, place biscuits on a baking sheet and bake at 350°F for 5-7 minutes or until warmed through. You can also warm them in the microwave for a few seconds, but be careful not to overheat, as they can become tough.
Make Ahead
You can make the dough in advance and refrigerate or even freeze it until you're ready to bake it. This is especially helpful when you have guests staying over or a busy morning ahead.
Perfect pairings: what to serve with
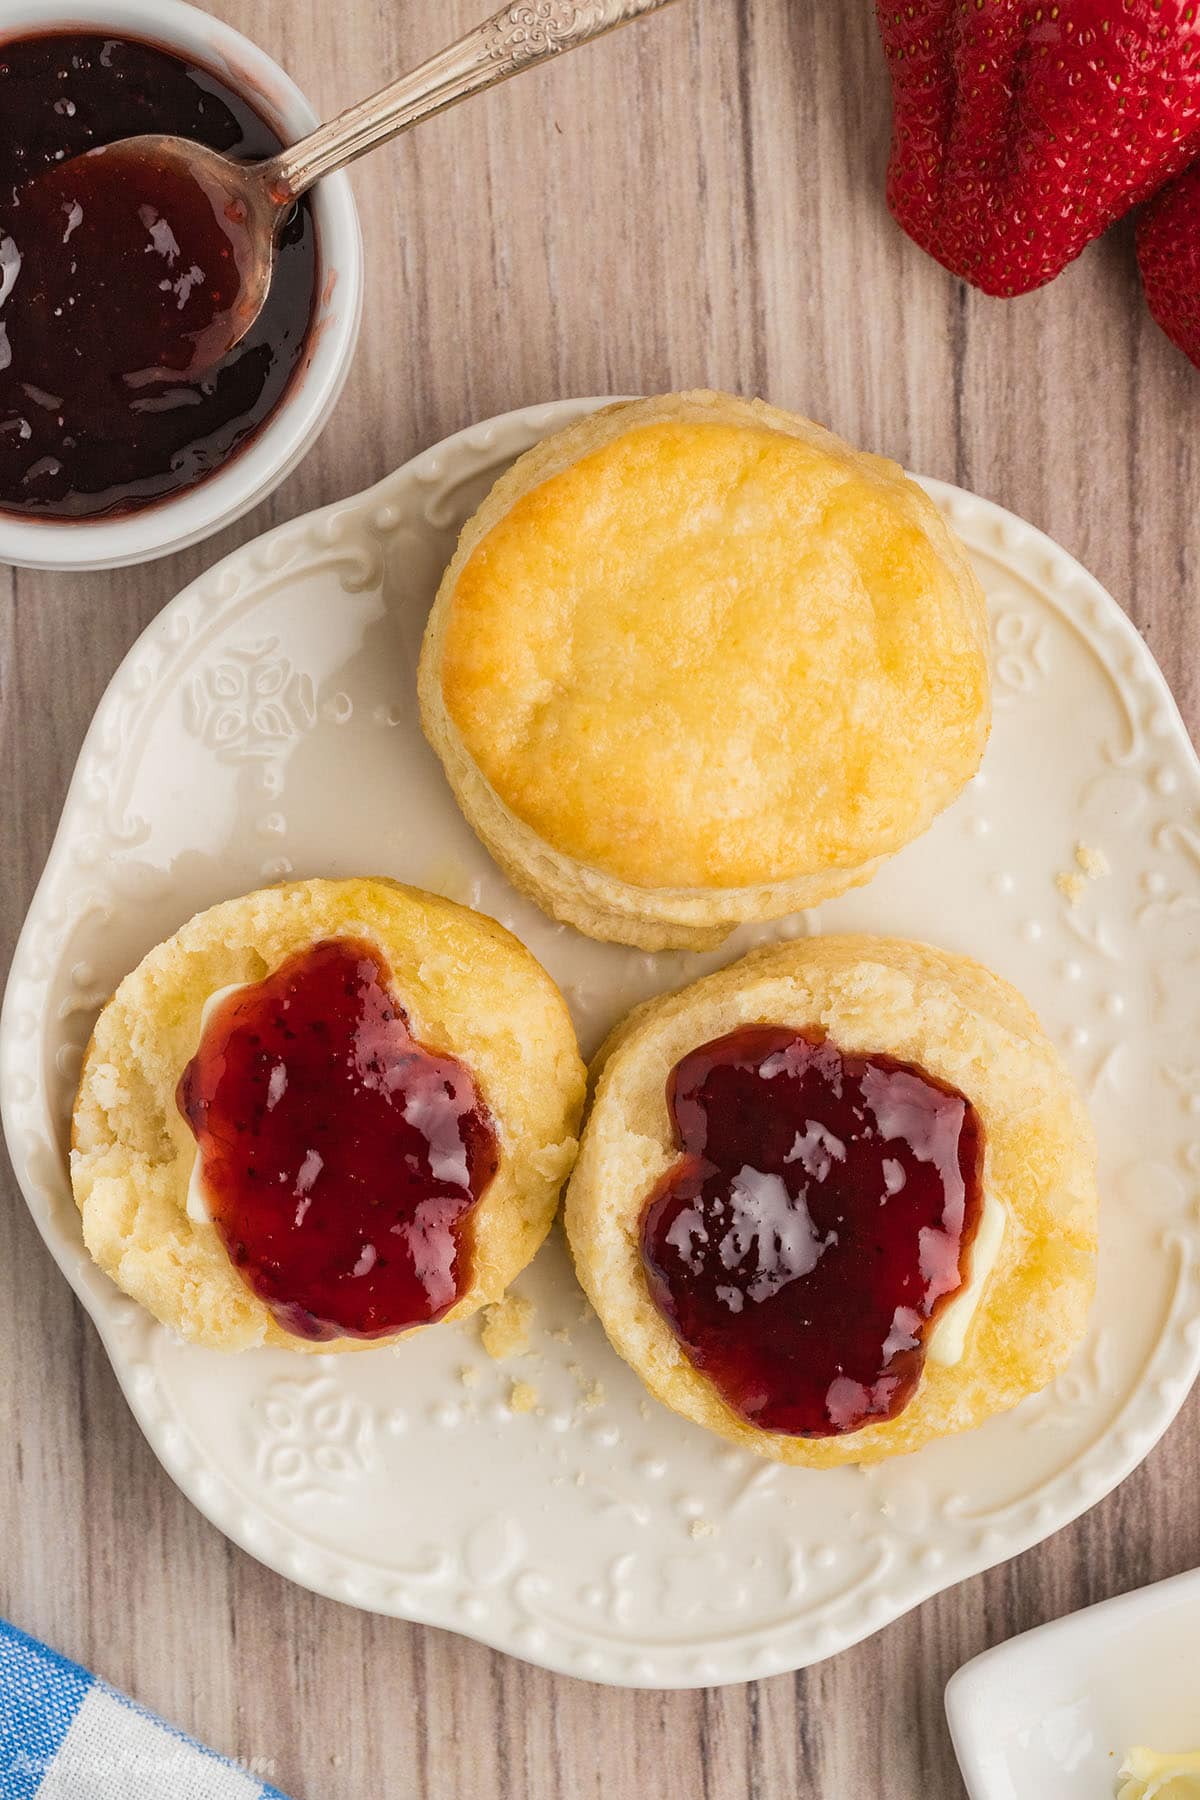
Biscuits can be used in many different ways. My family likes to enjoy them with our favorite jams and butter, such as this Slow Cooker Apple Butter, Carrot Jam, or Peach Jam. If you want something a little heartier, try topping them with this Turkey Sausage Gravy.
You'll also like
Does your family love Cracker Barrel? Then, next time, try these other copycat Cracker Barrel recipes, such as Cracker Barrel Pancakes, Cracker Barrel Meatloaf, Cracker Barrel Chicken Tenders, or Cracker Barrel Chicken and Rice. They all make great meals for your family.
We also love these Buttermilk Herb Biscuits. I personally love biscuits for the fact that they freeze 100% perfectly – which is actually what I’ve done with the 50+ I’ve made in the past few weeks, trying to perfect the recipe.
We will be eating these for weeks and weeks – no complaints here!
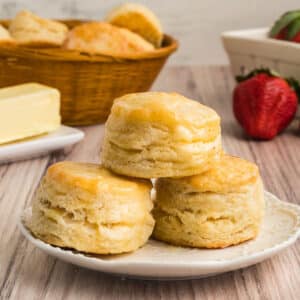
Cracker Barrel Biscuits
Ingredients
- 3 cups all-purpose flour
- 4 ½ teaspoon baking powder
- 1 ½ teaspoon sugar
- 1 ½ teaspoon salt
- 8 Tablespoons cold butter unsalted
- 1 cup + 2 tablespoon buttermilk cold
Optional:
- 1-2 Tablespoons melted butter
Instructions
- Preheat the oven to 450°F. Line a baking sheet with parchment paper and set aside.
- In a large bowl, add flour, baking powder, sugar and salt. Mix using a whisk.
- Using a hand grater grate cold butter into flour mixture. When you get to the end of the stick, you can just cut it into small pieces.
- Mix the butter into the flour mixture with your fingers or using a pastry butter. The batter will be lumpy from the butter. Be careful not to overmix, the butter should be small pea size within the flour.
- Add buttermilk and mix until just combined.
- Flour a clean counter or a silicone pastry mat, Avoid continuing to mix it as it will overwork the dough and activate the gluten, resulting in flat biscuits.
- Using a light touch, use the palm of your hand to push the dough together, it will look and feel crumbly but it will come together quickly. Push into the shape of a rectangle.
- Using a bench scraper or spatula, fold it in thirds. Right side and then fold the left side.
- Turn the dough horizontally. Using a rolling pin, roll it into a rectangle, fold in the sides and turn it again.
- Do this about 2 or 3 times. This is done to create the flaky layers of your biscuits.
- After the 2nd or 3rd time, push the dough down again shaping into a circle or larger rectangle, about ¾ “ to 1” thick.
- Using a 2.5” biscuit cutter, push down straight, into the dough. Do not push and turn the cutter as it may seal the dough and keep the biscuits from rising properly.
- After cutting out biscuits, gather dough scraps together and use a rolling pin to flatten to ½ to ¾” thick and continue cutting out more biscuits until you run out of dough.
- Place each dough circle onto the prepared baking sheet.
- Bake in the oven for 15 to 20 minutes or until they are puffed up and have a golden top.
- Take them out of the oven and using a pastry brush, brush the tops with melted butter before serving.
Notes
- If you want to make buttermilk with milk and white vinegar, mix them together and wait 10 minutes before using. This is a crucial step for fluffy biscuits. It is necessary to sit for a minimum of 10 minutes and keep it cold.
- Place the stick of butter into your freezer to make it easier to grate.
- You can also dust the whole stick of butter with a touch of flour firs. Thist makes it easier to grate. Be sure to only use a tiny bit to avoid adding too much flour to the dough.
- Put the entire baking sheet with uncooked biscuits in your refrigerator to firm up if the dough has started to become soft and warm. This will firm up the butter helping to create the best flakiest biscuits.
- If you find the biscuit cutter sticking to the dough, try dipping the cutter into flour first and then into the dough.
- If you do not have a hand grater, cut the butter into tiny cubes and mix in with clean hands or a pastry cutter.
- If you do not have parchment paper, you can either butter or spray a baking sheet with non-stick spray.
- It is preferable for biscuits to be cooked close to one another. It’s okay if they are touching while baking, as biscuits should rise and not spread out.
- Folding the dough a few times before using the biscuit cutter helps to create flaky layers. Gently pat by pushing out with a rolling pin, fold and repeat. I like to do this 3 times for the flakiest biscuits.
- The less time your hands handle the dough, the better the biscuits will turn out. This is why a bench scraper and rolling pin is used.
- If you want your biscuits more brown on top, you can put them under the broiler for 30 seconds to a minute. Careful not to burn as it will happen quickly.


Leave a Reply