If you're looking for a simple, no-bake dessert that’s irresistibly delicious, these Oreo balls are the answer! Bite-sized delights with the perfect combination of rich chocolate cookies, cream cheese, and a chocolate coating. Incredibly easy to make, fun, and very festive.

Save this recipe by clicking on the ❤️ heart on the right-hand side of the screen or in the recipe card.
Jump to:
This no-bake treat is very popular, and you are going to love making it for a party, holiday gathering, or just a sweet craving. Very versatile, as you can use any sandwich cookies you love and change the coating and sprinkles according to the season.
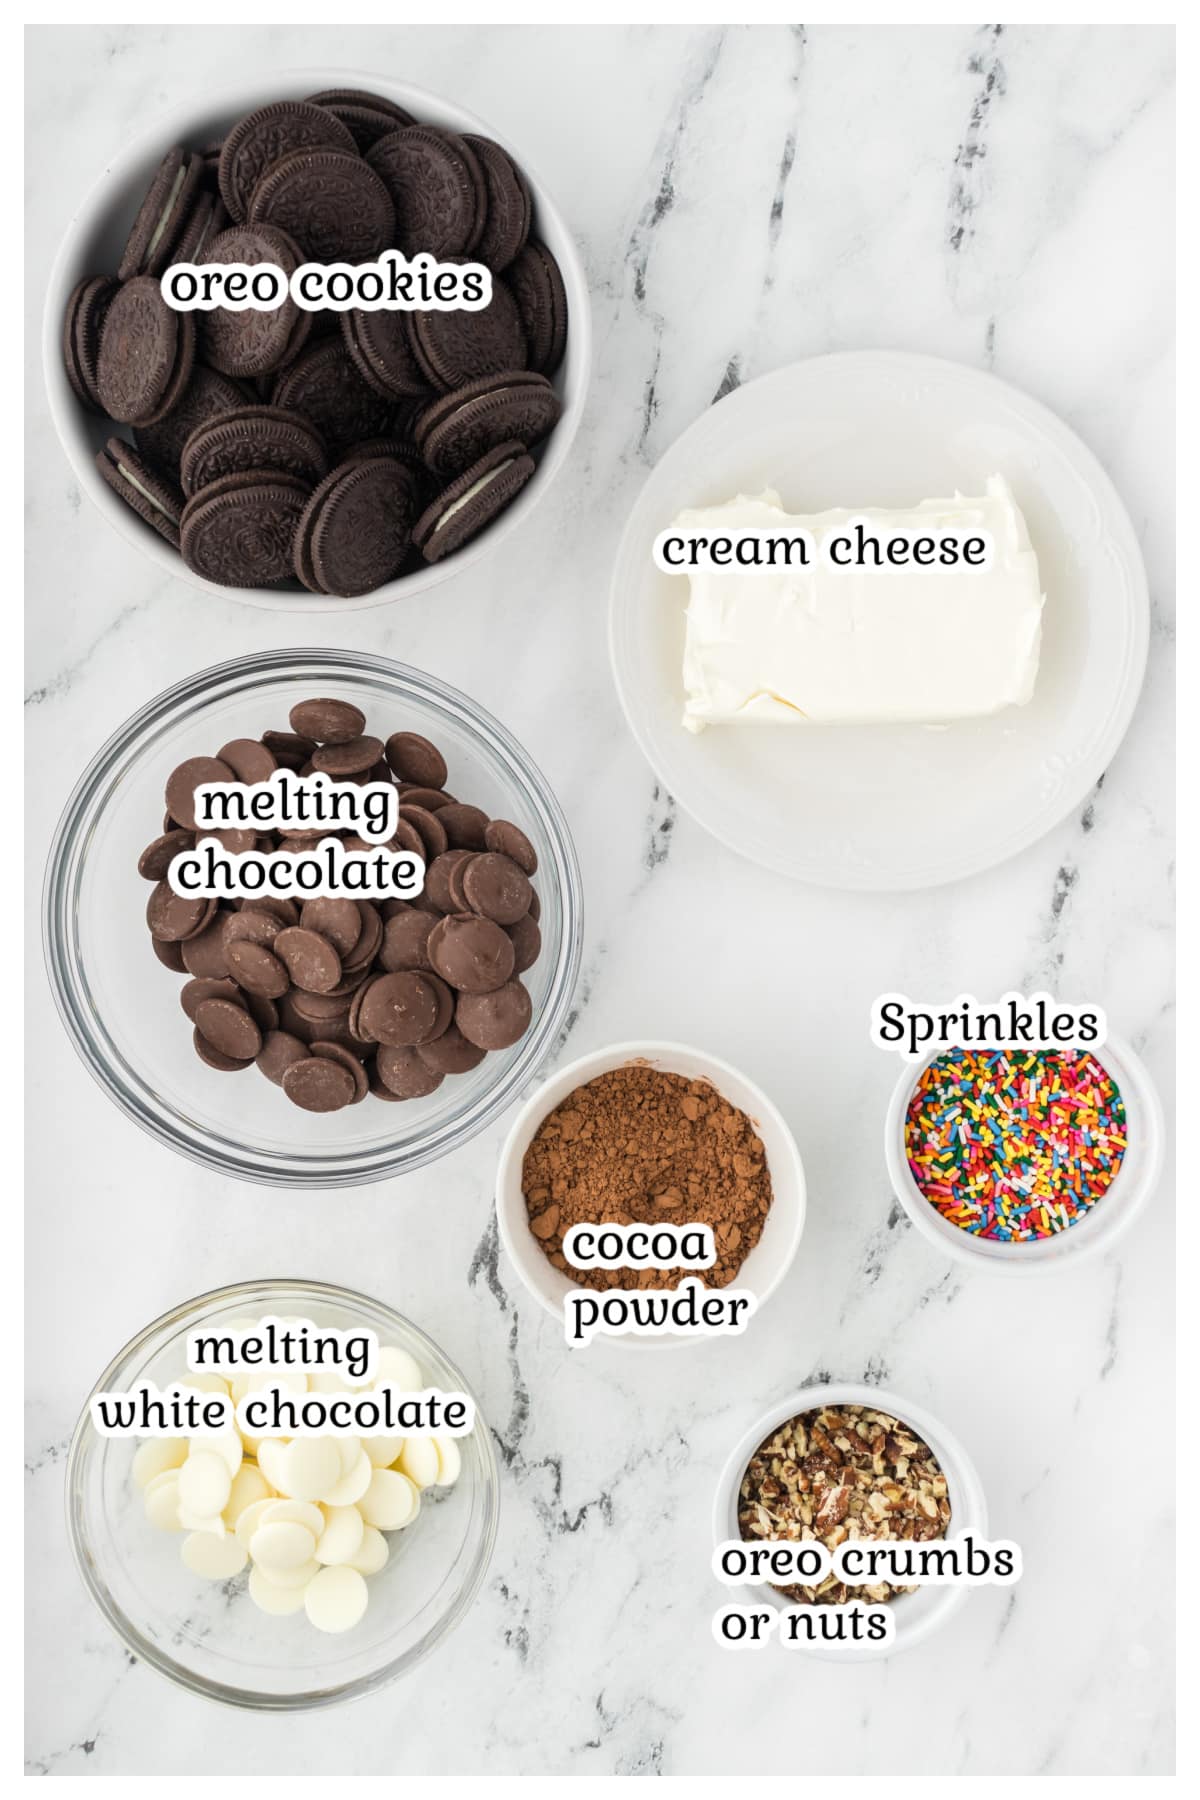
Ingredients you'll need
Note: This is an overview of the ingredients. You'll find the full measurements and instructions in the recipe card (printable) at the bottom of the page.
Ingredient Notes / Variations
- Oreo cookies - You can also use store-brand chocolate sandwich cookies.
- Cream cheese - For this recipe, I recommend that you use a block of cream cheese instead of the whipped-style cream cheese.
- Chocolate - You will need chocolate melting wafers or chocolate chips.
- Almond bark - Vanilla melting wafers, and white chocolate chips can be used instead of almond bark.
- Cocoa powder - I used unsweetened Dutch cocoa powder.
- Toppings - There are so many different ideas you can use for topping. From sprinkles to nuts, to additional cookie crumbs.

Oreo Balls
Ingredients
- 14.3 ounce Oreo cookies 36 cookies
- 1 (8ounce) block cream cheese, softened
For decorating:
- 12-15 ounces chocolate melting wafers or chocolate chip any kind you like
- 6 ounces vanilla flavored chocolate melting wafers or white chocolate chips
- Or
- 6 Tablespoons Cocoa powder dutch unsweetened
- Sprinkles
- Chopped nuts
- Oreo crumbs
Instructions
- Line a large baking sheet with parchment paper and set aside.
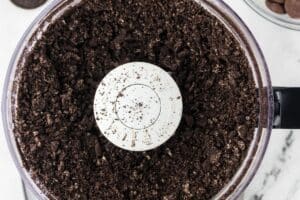
- In your food processor break cookies with your hands in thirds or quarters then pulse until crushed.
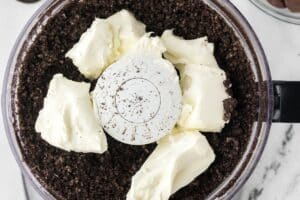
- Add cream cheese and continue to pulse until combined.
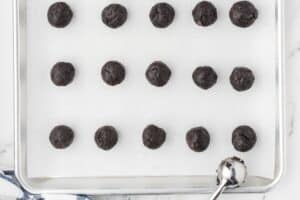
- Using a 1 tablespoon cookie scoop, scoop the Oreo mix and roll with your hands into small balls.
- Place balls on the baking sheet and refrigerate for 30 minutes.
- Place chocolate in a microwave safe bowl and microwave for 20 seconds intervals stirring in between, or melt per package directions.
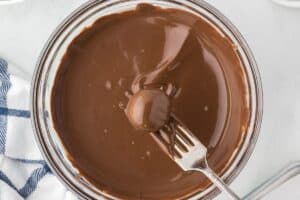
- Remove balls from fridge and dip into the bowl of melted chocolate making sure to coat the balls completely with melted chocolate.
- Using a fork remove balls from bowl and place on the baking sheet again.
- Decorate with sprinkles, Oreo crumbs or drizzle top with melted chocolate.
- Return baking sheet to the fridge and allow to firm for another hour.
Notes
- If you are as slow as I am, the chocolate will harden or thicken while you work, making it hard to finish all the balls. Here is what I did: I placed my chocolate bowl over another bigger bowl of hot water. You want it to fit snuggly without touching the water. It is making a double boiler but not on the stove just hot water from your tea kettle will do the job until you are finished covering all the balls.
- Chocolate wafers vs chocolate bar or chocolate chips: here is what I know from trying this. Chocolate gives a richer and sweeter coating, but it does not stay long out of the fridge. Chocolate wafers make a more stable ball.
- Coating with cocoa powder was my favorite as it was less sweet, plus I love unsweetened cocoa powder. The only problem is that the dough absorbs the cocoa powder when left out of the fridge, so it is better to coat it right before serving.
Nutrition
Sign up and learn more about Mediterranean flavors
Your questions answered: FAQs
Yes, due to the cream cheese in these sweet treats, you will need to keep them in the fridge.
If your truffles start to fall apart while you are dipping them, they are too warm. Put them back in the fridge or freezer for about 15 - 30 minutes until they firm up again.
Variations
- Mix in some peanut butter or add peanut butter baking chips to the mix for peanut butter oreo balls.
- Use different flavored sandwich cookies like mint, lemon, toffee crunch, java creme, or birthday party cookies.
- If you are making these for holiday parties, swap out the chocolate wafers and use colored Wilton candy melts to match your occasion.
- Before chilling the Oreo ball, you can add a cake pop stick if you want to turn it into cake pops.
My notes
- If you don't have a food processor, you can crush the cookies in a storage bag with a rolling pin. Just make sure that you continue to crush them until you get fine crumbs. You will also need a hand mixer to help you mix the batter.
- You want to use regular Oreos for this recipe and not double-stuffed. You can also use the Golden Oreos or the Mint Oreos. Just make sure that they aren't double-stuffed.
- I like to use the edge of the bowl to remove the excess chocolate from the dipped balls before I place them on the wax paper to harden.
- If you find that you are working slowly, keep some of the Oreo cream cheese balls in the freezer while you are working so that they don't soften too much. Then you can also reheat the chocolate in the microwave to help thin it out again.
- Add the toppings to these Oreo truffles while the chocolate is still wet so that the garnishes will stick to them.
- Using real chocolate? Add a small amount of coconut oil or vegetable shortening to the chocolate so that you get a smooth finish.
How to store leftovers
Refrigerate - Store leftovers in an airtight container in the fridge for up to one week. If you are stacking the chocolate truffles, I recommend that you place a piece of wax paper or parchment paper in between the layers.
Freeze - This easy dessert also freezes well, so you can make a double batch and save some for later. Freeze them in a zip-top bag for up to three months. Thaw in the fridge overnight or on the counter for about 30 minutes before enjoying.

Perfect pairings: what to serve with
Oreo balls are delicious on their own, but they pair wonderfully with other treats and beverages for a full dessert spread! Here are some great options:
- Make a dessert charcuterie board – Arrange Oreo balls with other bite-sized sweets like cakesicles, macaroons, and cookie dough truffles.
- The rich chocolate pairs perfectly with a warm drink like milk tea, coffee or a festive brulee latte. You can also serve them with cold milk shots for a nostalgic treat.
- Place on your dessert table along different kids of cookies, brownies, ice cream and more!
📣 Related Recipes
Do you love no-bake desserts? We do too, and this Hula Pie is one of our favorites. Here are some more for you to check.
Aren't these just the best?!! I hope you enjoy them as much as we do. Leave a note below. I'd love to get your feedback and your favorite way to enjoy this decadent bite!.










Olivia
This is one of our favorite treats to serve in parties and during the holidays. Made it last week for an office party and everyone liked it.