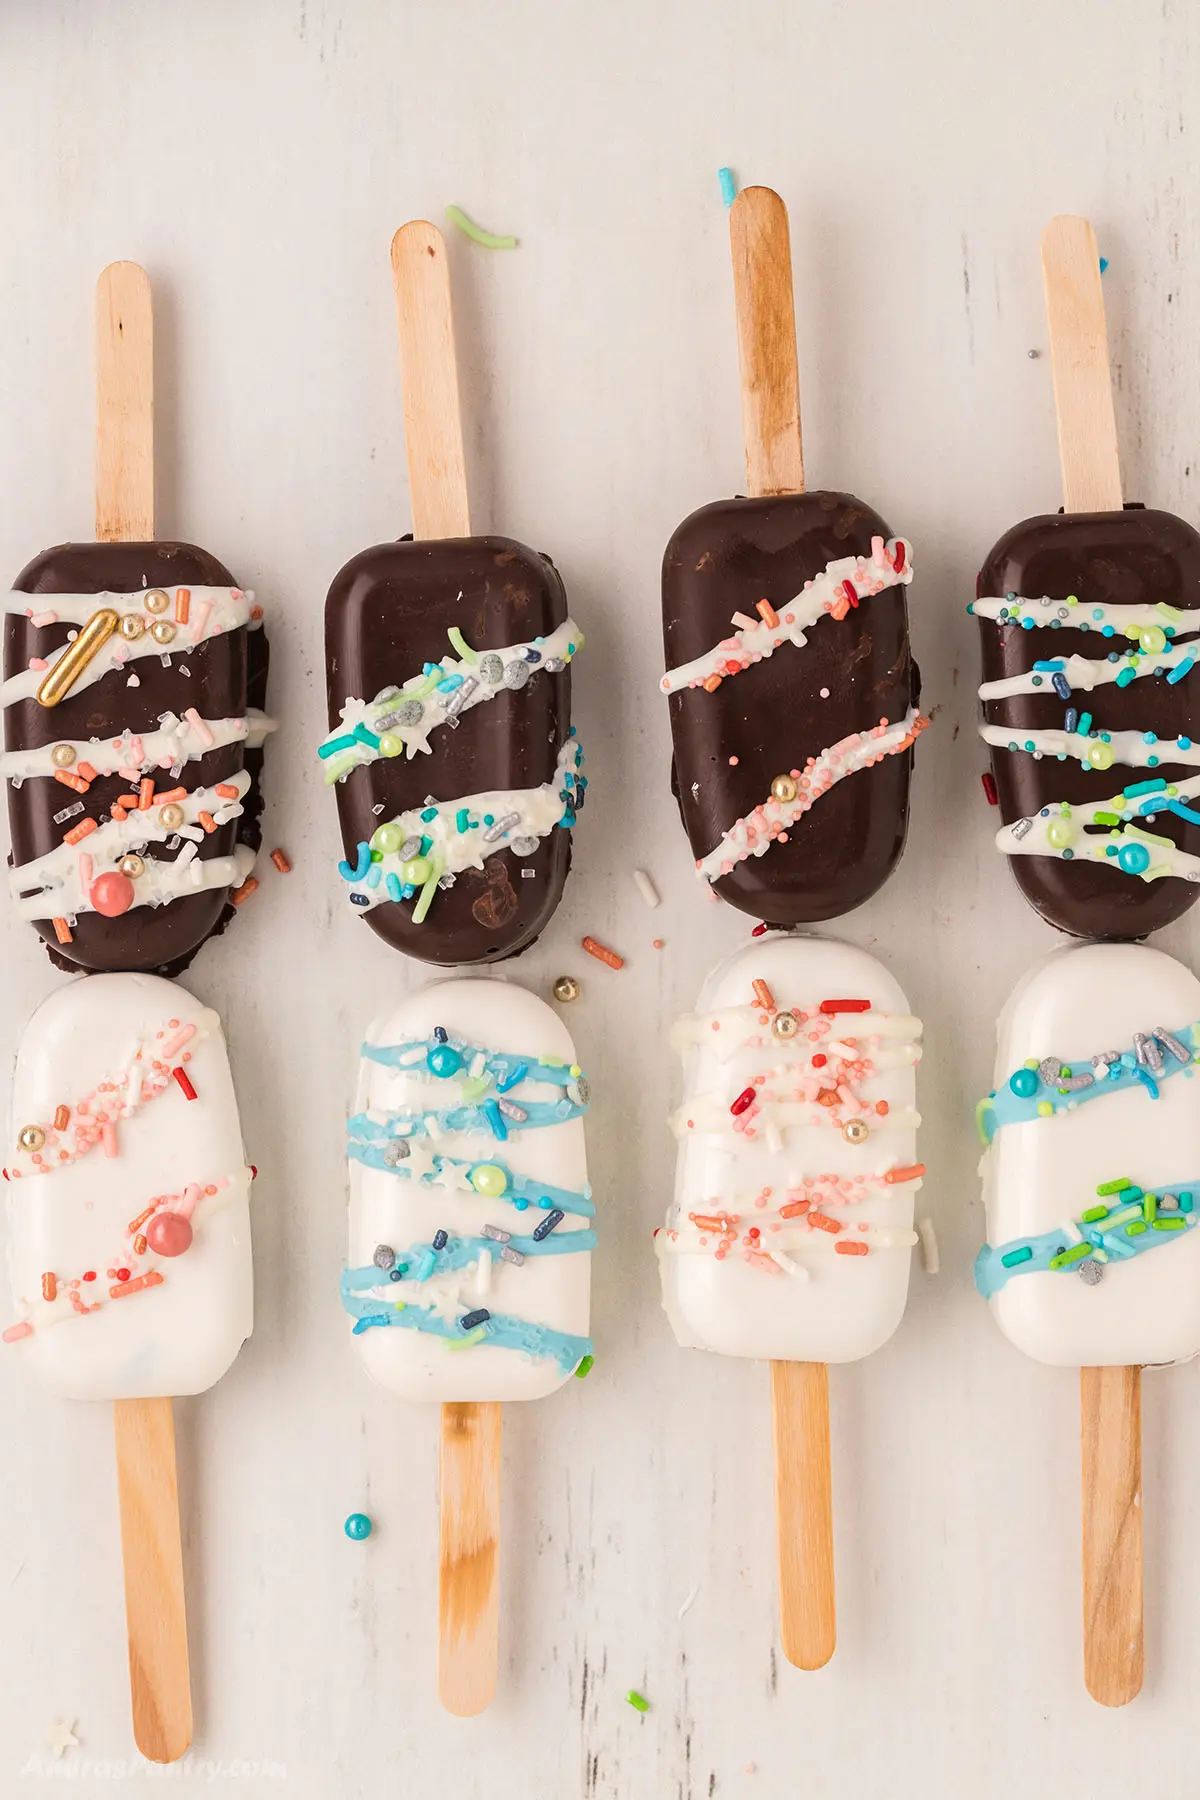
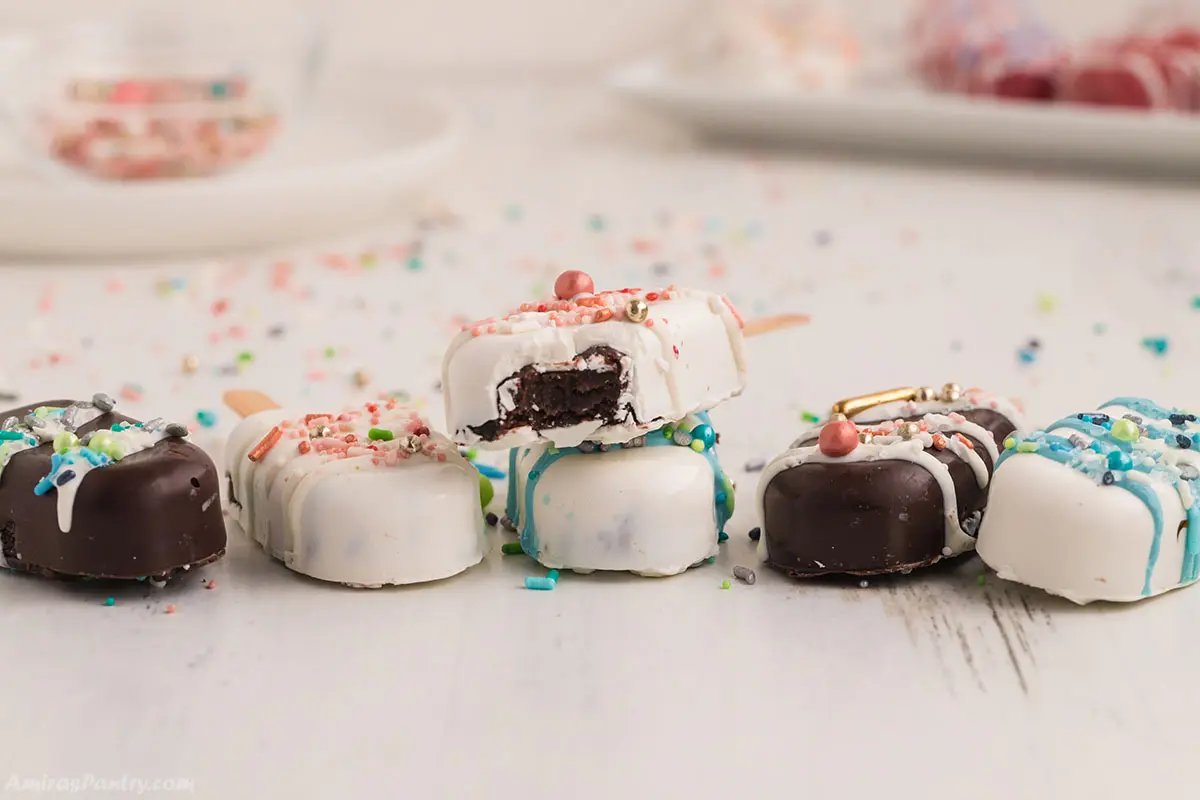
Cakesicles are a fun dessert for all ages. Moist cake is mixed with cream cheese frosting and pressed between two layers of melted chocolate using a silicone cake popsicle mold and mini popsicles. Once cooled and popped out of the cakesicle mold, each cake popsicle can be decorated with additional frosting, colorful melted candy melts and whatever sprinkles you have on hand.
Jump to:
❤️ Why You'll Love It
- Cake popsicles are a favorite for baby showers, birthday parties or any special occasion.
- Decorate in seasonal colors for the holidays.
- Using a variety of colored candy melts, decorate for your next game day using your team colors.
- Cakesicles are great for kids (or adults) at your next potluck or family gathering.
- Cake popsicles can be wrapped individually with cakesicle cellophane bags and ties for classroom parties or to give out as party favors.
- Best way to use leftover cake or cupcakes.
Cake popsicles make a fun project for kids of all ages. We love to make up a couple of batches and then have a decorating party with an assortment of sprinkles and candy chocolate melts in a variety of colors.
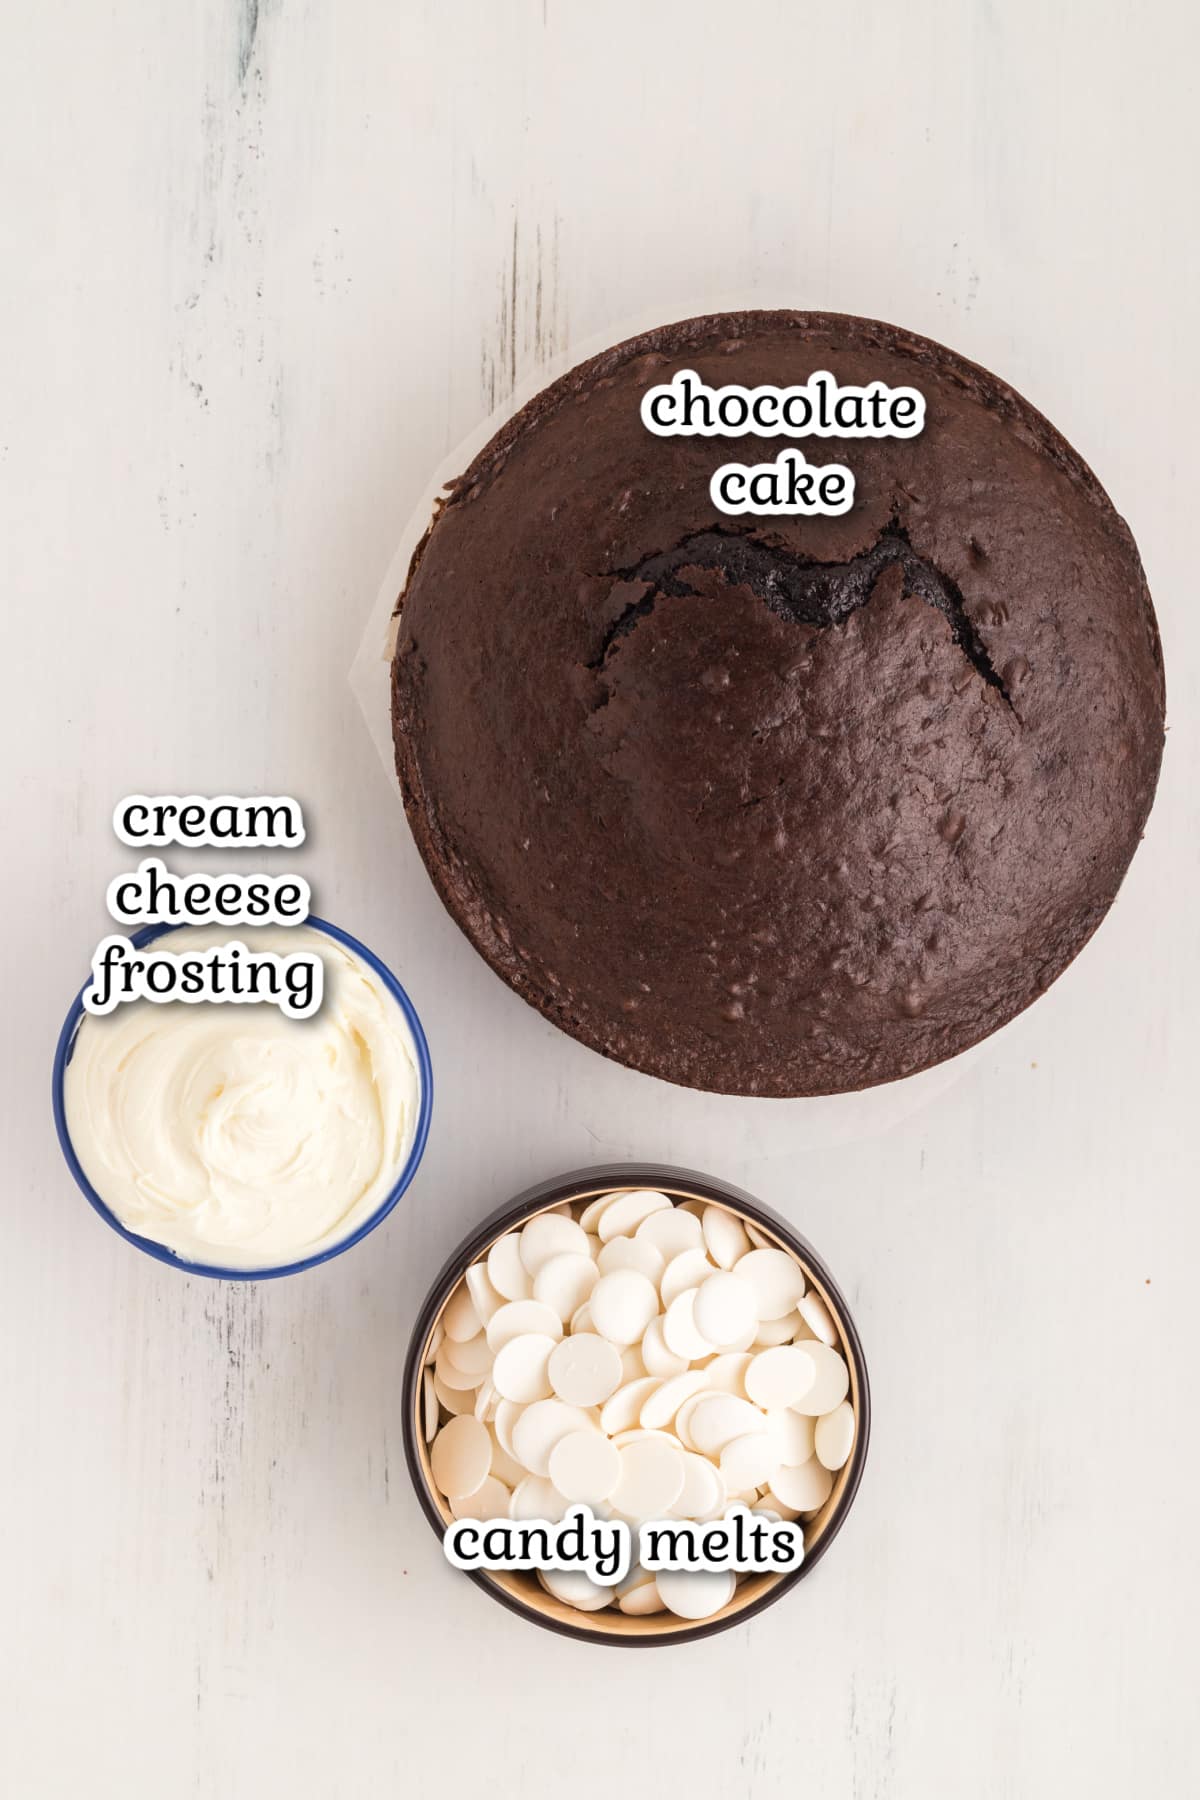
📝 Ingredients
Note: This is an overview of the ingredients. You'll find the full measurements and instructions in the recipe card (printable) at the bottom of the page.
🥄 Instructions
Note: This is an overview of the instructions. The detailed instructions are in the recipe card below.
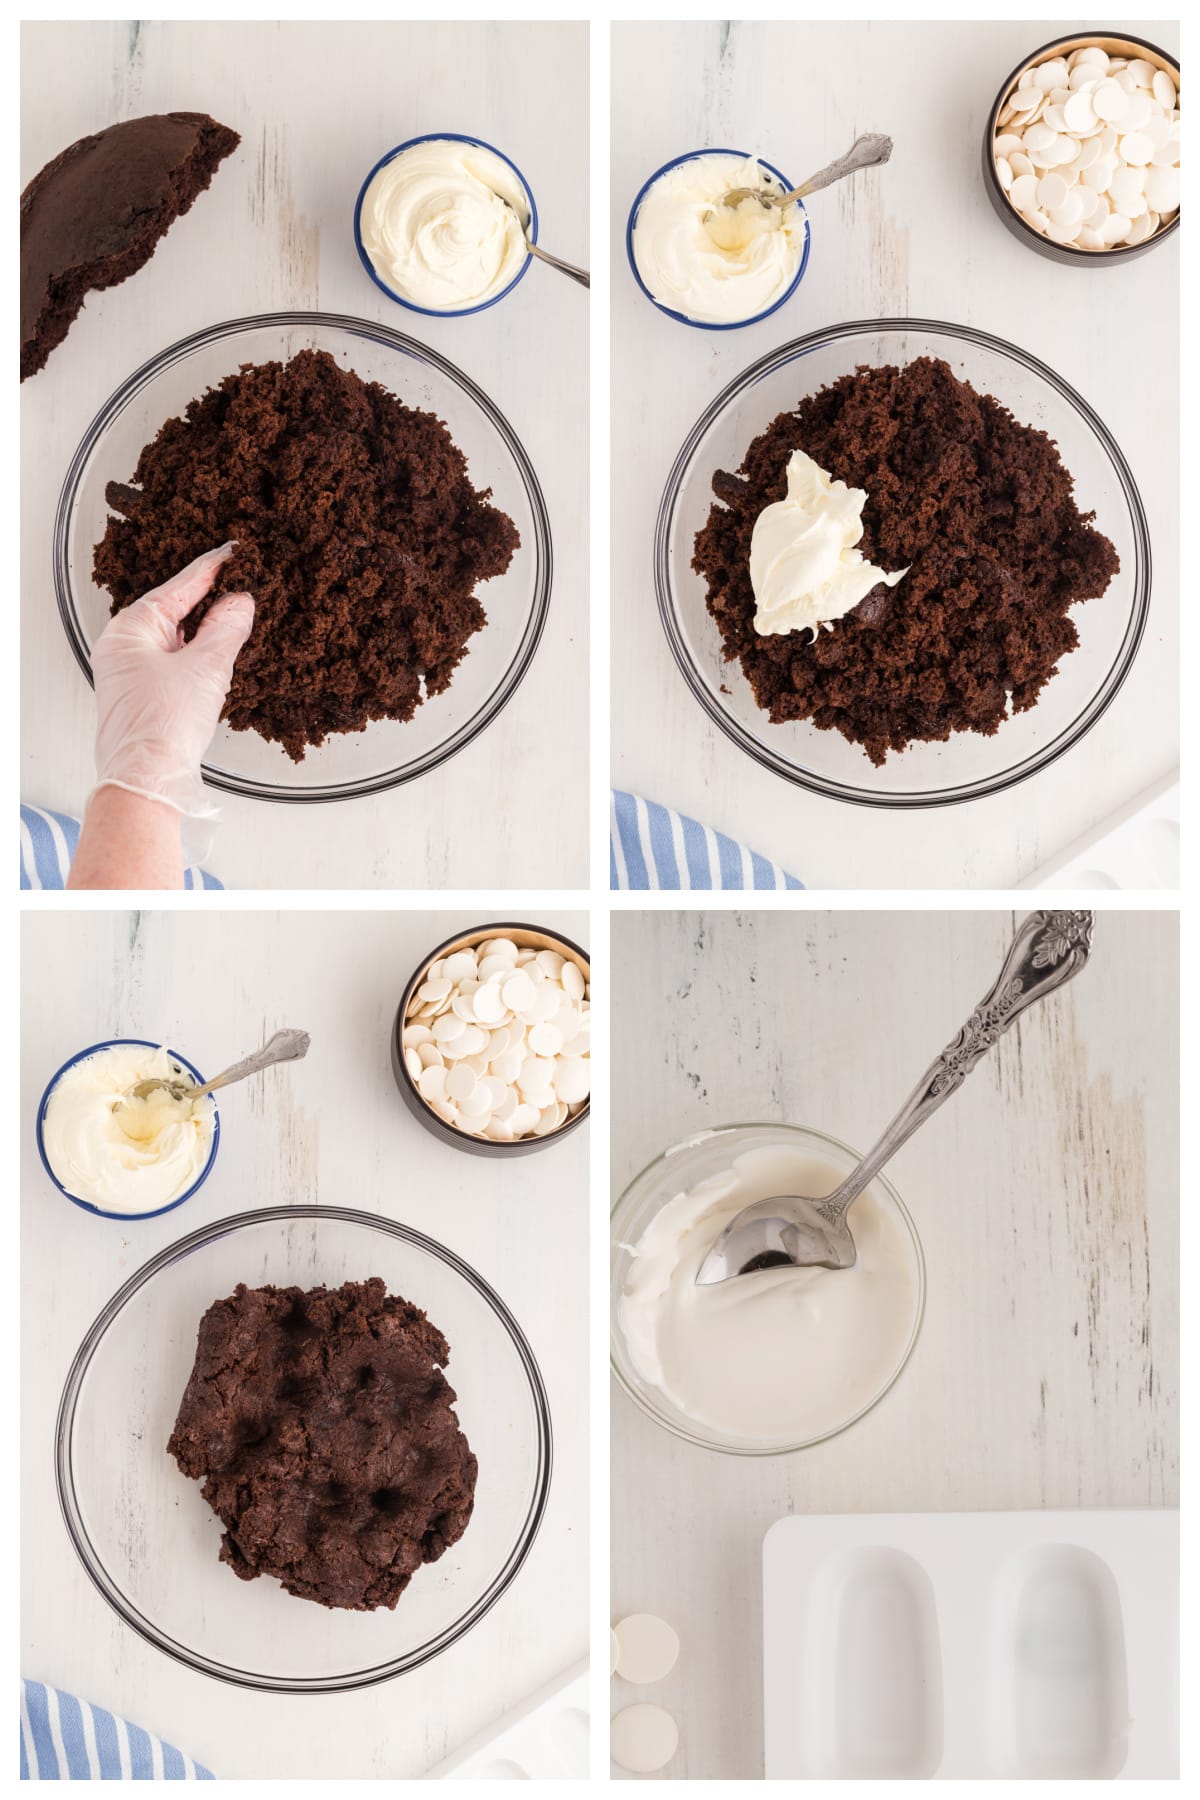
- Start by making the cake filling : Using your hands, crumble the cake and place into a large bowl.
- Add ¼ cup of the frosting and mix well with the cake crumbs. If the crumbs did not come together and form a ball like clay dough add more frosting and mix well with your hands.
- Melt the chocolate coating by placing the white candy melts in a small microwave safe bowl and microwave for 30 seconds. Stir well then microwave for 20 second intervals stirring in between to make sure they melt equally. You can also use the double boiler method.
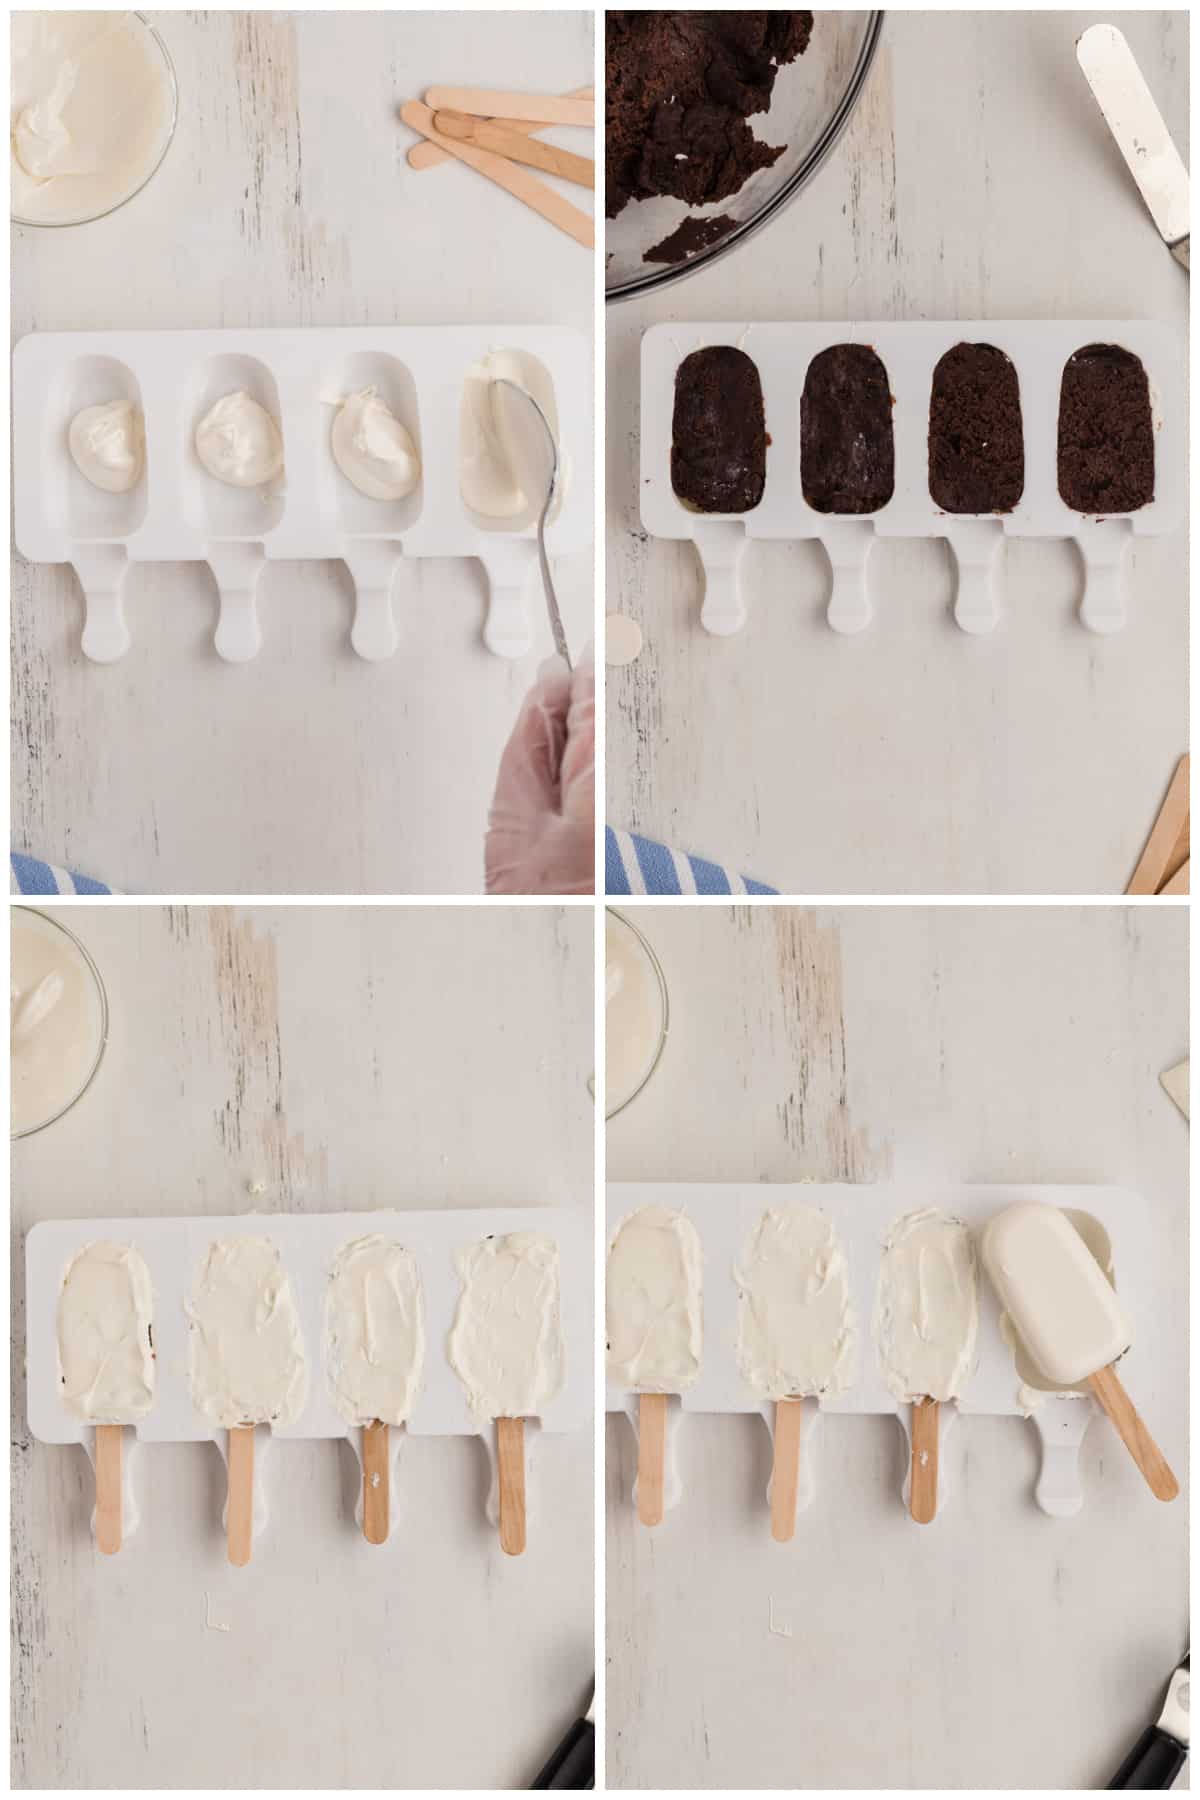
- Place 1 tablespoon in one of the silicone mold cavity and spread evenly into a thin layer along the bottom and sides of the mold using a small cookie decorating brush or pastry brush. Immediately insert the popsicle stick into the mold hole and remove it to clear the hole of any candy coating. Freeze for 3-5 minutes. Take the mold out place another tablespoon of the melted candy melts, and paint on a second layer of the candy. Make sure to cover the edges. Insert the popsicle stick again to remove extra candy from the opening. Freeze for another 3-5 minutes.
- Press 1 tablespoon of the cake mixture into the mold cavity. Insert a stick in each cavity.
- Place about 1 teaspoon of the candy melt on top of the mold and spread in a thin layer using an offset spatula to remove excess chocolate. Repeat until you are done with all the cavities.
- Refrigerate mold for 3 minutes or until chocolate is hard. Carefully remove cakesicles from mold and decorate as desired.
👍 Amira's Tips
- Use a cake mix of your choice, but make sure it comes to room temperature.
- Use any frosting homemade or store bought, this simple cream cheese frosting works great for the recipe.
- You can use different bags of candy melts with different colors.
- Painting the molds can be done using the back of a small spoon, offset spatula or a food safe brush whatever you have in your kitchen.
- Be sure to cover the bottom and the side of the mold completely with the candy coating.
🧺 Storage
- Wrap each popsicle in plastic wrap then wrap in foil and refrigerate in an airtight container for up to 10 days.
- Cakesicles can also be frozen for up to 3 months.
⌛ Make Ahead
- Bake and cool the cake if you'll be making it. Crumble the cake into a bowl, wrap until you're ready to make cakesicles.
- If you're making homemade cream cheese frosting, make this up ahead of time, wrap and store in your fridge until you're ready to mix with the cake.
- You can even make up the cake popsicles ahead of time and then bring them all out and have a decorating party.
👩🍳 Variations
- This is a great recipe to use leftover cake with any cake flavor, cupcakes or cake scraps. I would advise to remove the frosting off the cake first keeping it in a bowl. Crumble the cake first and then gradually add the frosting back until the cake is moist and shapeable.
- You can use chocolate instead of candy melts. Keep in mind that chocolate does not set as quick as candy melts yet they are far superior in taste.
- Make marbled or layered cakesicles by using different cakes, such as vanilla and strawberry, pumpkin and chocolate...etc.
💬 FAQs
When removing completed cakesicles from the mold, use two fingers on the back to push the cake popsicle out. Then slowly peel the mold back and down while pushing up on the popsicle stick to release it from the mold.
If even after taking your cakesicles out of the molds, they seem to be falling off, try dipping the popsicle stick in a little bit of melted chocolate candy melt before inserting into the mold. This will act like a glue to hold the stick in place.
It is not recommended to use gel-based food coloring with chocolate candy melts as they will ball up. Check your food coloring and only use oil-based food coloring when coloring chocolate melts or use already colored chocolate melts.
🍽️ Serve With
- Buffalo Chicken Sliders are great make-ahead party food and always seem to fly right off the table.
- These crunchy Potato Croquettes are a family favorite I get requests for at every family gathering.
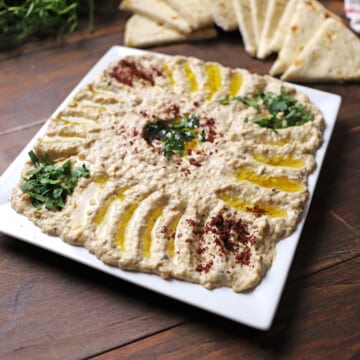
- You can never go wrong with some Homemade Doritos and Smoked Queso Dip for parties and game days!
🥣 Equipment
The following are affiliate links. We are a participant in the Amazon Services LLC Associates Program, an affiliate advertising program designed to provide a means for us to earn fees by linking to Amazon.com and affiliated sites.
Don't forget to check out my Amazon storefront for some of my favorite products!
📣 Related Recipes
- Tanghulu Recipe, also known as bingtanghulu, is a traditional Chinese snack that originated in the northern region of China. Fresh fruits dipped in thick syrup and quickly cooled for a delicious sweet treat.
- Turkish Delight is a sweet chewy and nutty dessert that is a joy to have with a cup of coffee or tea.
- Chocolate and White Chocolate Covered Strawberries are a delicious and elegant treat that are great for any occasion.The perfect balance of sweet and tart, and the chocolate adds a rich, decadent flavor.
Easy bite-sized desserts
- Cake pops are a fun and easy treat to make for any occasion. These strawberry cake pops are made with your favorite strawberry cake mixed with cream cheese frosting then coated with melted candy, decorate with various sprinkles for unique treat every time.
- Here is a winner, no-bake recipe for holidays, parties, or an easy way to satisfy your sweet tooth. Oreo Balls are a classic 3 ingredient bite sized treat made of sandwich cookies, cream cheese and chocolate.
If you love this recipe, please leave a ⭐⭐⭐⭐⭐ rating! Thank you.

Cakesicles (Cake Popsicles)
Ingredients
- 1 chocolate cake mix + ingredients to make the cake
- ½ cup cream cheese frosting store bought or homemade
- 32 oz candy melts
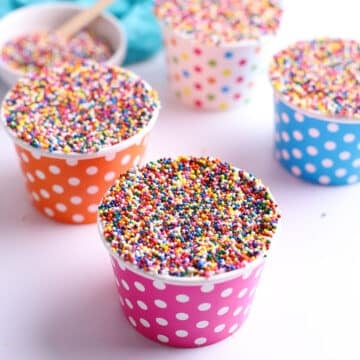
- assorted sprinkles optional
Instructions
- Bake the cake according to package directions and let it cool completely.
- Using your hands, crumble the cake and place into a bowl.
- Discard any hard or burnt pieces of the cake like the corners.
- Add ¼ cup of the frosting and mix well with the cake crumbs.
- If the crumbs did not come together and form a ball like clay dough. Add more frosting and mix well with your hands.
Melt the coating
- Place candy melts in a small microwave safe glass bowl and microwave for 30 seconds.
- Stir well then microwave for 20 seconds intervals stirring in between to make sure they melt equally.
Make the popsicles
- Place 1 tablespoon in one mold cavity and spread evenly into a thin layer along the bottom and sides of the mold.
- Immediately insert the popsicle stick into the mold hole and take it out to make the hole clear of any candy coating.
- Repeat with the other molds until done.
- Freeze for 3-5 minutes or until the coating hardens.
- Take the mold out of the freezer and and place another tablespoon of the melted candy melts and paint on a second layer of the candy. Make sure to cover the edges generously.
- Insert the popsicle stick again to remove extra candy from the opening.
- Freeze for another 3-5 minutes.
- Press about 1 tablespoon of the cake mixture into the mold cavity leaving a little space at the top (about ⅛th inch) below the edges of the mold.
- Insert a stick in each cavity being sure to hold the cake in place with one hand.
- Place about 1 teaspoon of the candy melt on top and spread in a thin layer using an offset spatula to remove excess chocolate.
- Repeat until you are done with all the cavities.
- Refrigerate mold for 3 minutes or until chocolate is hard.
- Carefully remove cakesicles from mold and decorate as desired.
Notes
- Use any cake mix of your choice.
- Use any frosting homemade or store bought.
- You can use different bags of candy melts with different colors.
- Painting the molds can be done using the back of a small spoon, offset spatula or a food safe brush whatever you have in your kitchen.
- Be sure to cover the bottom and the sides of the mold completely with the candy coating
- To decorate: You can melt chocolate chips or for me I loved melting different colors of candy melts. Make ribbons using a small spoon and add some sprinkles. Just make sure to add the sprinkles before the candy melt ribbons harden.
- For more tips and notes please check the post above.
- Please check the nutrition disclaimer policy.


Leave a Reply